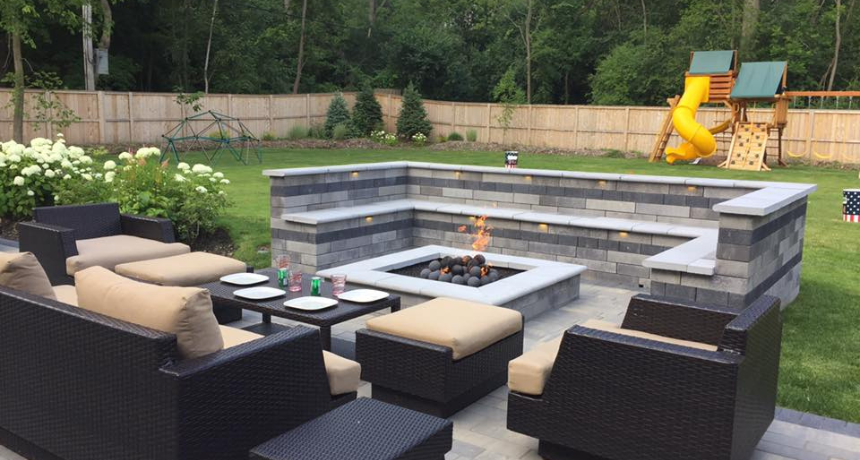
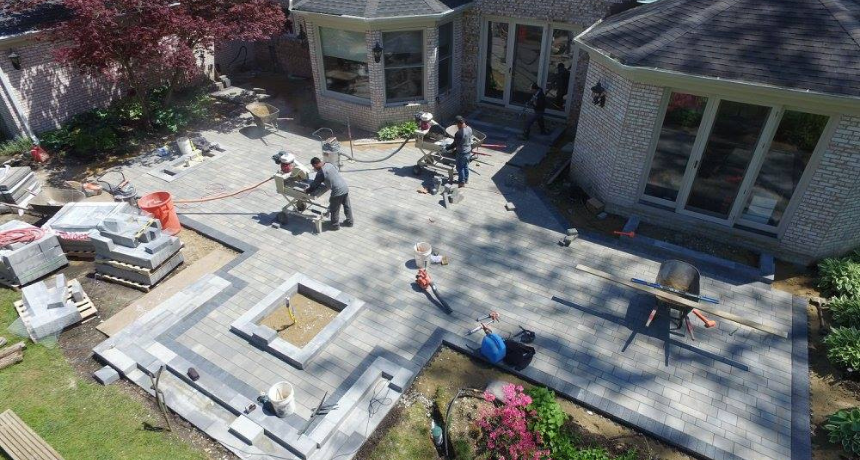
Are you feeling inspired to add a touch of class and sophistication to your outdoor space? If so, installing a brick patio may be just the project for you. With the right knowledge and skills, this DIY job could have you stepping out onto your own custom-made area in no time. As well as completely transforming both the look and feel of your backyard, adding a brick patio is also a great opportunity to create unique finishing touches that reflect your individual style. Ready to start laying down those bricks? Read on for an overview of what’s involved with installing a brick patio.
Be Aware of Rules and Restrictions
Building a patio can be an incredibly rewarding project but making sure that you are aware of the zoning laws and other building codes within your local area is incredibly important. Calling your city office can help to provide all the information that you might need regarding any sort of restrictions or requirements for the project. In most cases, it is not necessary to gain a building permit for something like this, however, land use rules may affect the process- especially if your proposed patio is located close to an easement or property line. If this were to be the case, it could potentially require a survey of the property along with other possible documentation that must be obtained in order to continue on with your plans.
Installing the Patio
Step 1: Map Out the Edges
Creating a layout for your patio is an essential step during the installation process. Stakes and mason’s lines are invaluable tools that should be utilized to ensure a straight, clean line. To begin, place four stakes at each corner of the area and make sure they are placed two feet beyond the desired dimension of your patio as this will account for the edging on either side. You should also ensure that the stakes are placed taking into consideration the size of your brick pavers, as this will determine the ultimate dimensions of your patio. By utilizing stakes and mason’s line with careful consideration to each element, you can ensure that your patio is laid out in an aesthetically pleasing way while also ensuring it remains stable and strong moving forward – from installation to many years after.

Step 2: Clear the Area
Before you begin installing your brick patio, you need to make sure the area is clear of any debris or obstacles. You’ll also want to make sure that the area is level before beginning the installation process. If there are any bumps or dips in the ground, use a shovel to even them out as much as possible.
Step 3: Lay Down the Gravel
To begin the patio creation process, lay down a layer of gravel or crushed rock that is roughly four inches deep. Ensure that all integrity of the slope is kept intact, as it will bolster the overall strength and lifespan of your patio. Once the gravel or rock has been evenly spread, it should be firmly tamped into place to solidify the foundation. Pay attention to details such as making sure no gaps or uneven surfaces are present during this process – these small issues can lead to larger problems later on. Once you’ve cleared the space and leveled it off, lay down a landscaping fabric over the entire area and secure it with landscape staples. This will help keep weeds from growing through your patio later on. Taking your time and doing a thorough job now will leave you with a beautiful and well-made patio for years to come.
Step 4: Lay Out Your Bricks
Now that your space is clear and ready for installation, it’s time to start laying out your paver bricks. Start at one corner of the space and work outward in straight lines until you reach the other side of your designated area. You can also choose to lay out patterns like herringbone or basketweave if desired. Be sure to leave some space between each paver brick for sand—this will help keep everything stable once everything is installed.

Step 5: Install Edging Stones
Once you have laid out all of your bricks, install edging stones around the perimeter of your new patio using mortar mix. The edging stones should be slightly larger than each individual brick so they will be flush against them once installed correctly. Make sure all of these stones are secure before moving onto step six because once they’ve dried, they won’t budge.
Step 6: Fill with Sand
Your new brick patio is almost complete. Now that all of your patio brick pavers are laid out and secured with edging stones, fill in all of the gaps between each brick with sand until they are level with each other’s surfaces. Sweep away any excess sand from around the edges afterwards so that everything looks neat and tidy when finished.
Step 7: Gently Spray the Area
Once all the pavers are laid and securely in place, you should spray over them with a gentle amount of water. It’s important to use a light hand here and not soak them—too much moisture could potentially wash away the sand that’s been used to bind all the bricks together. Adding some extra water will push everything firmly into place, creating a more secure finish for your finished patio project and giving you peace of mind that it won’t budge down the line. Now your new and improved outdoor space is complete!

Now that you know the steps required to install a brick patio, all you need are the supplies, some patience, and perhaps the help of a professional team to make your vision come to life. To work with one of the most trusted brick patio contractors and installers in the Chicago suburbs, contact the team at Pavestone at (847) 895-7001. We will fill in the gaps in your design and building processes to leave you with a stunning result you’ll enjoy for years to come.


